Canva has hundreds of millions of users. WordPress powers more than 40% of the web. Yet the workflow between them, moving a finished Canva design onto a live WordPress page, is still a manual drag-and-drop operation for most teams, and it hasn’t meaningfully changed in a decade.
This guide covers the workflow end to end: how to export correctly, what formats to use where, how to handle optimization and alt text without losing your mind, and what it takes to automate the handoff so your marketing team stops pinging you three times a week asking “can you replace that banner on the homepage?”
Why Canva and WordPress Both Sit at the Center of Web Content
Canva won the small-team design market by doing something most professional tools refused to do: they lowered the floor. A brand manager at a mid-sized company, a solo consultant, a real estate agent. These people are not Adobe Creative Suite users. They need a social tile by 2pm, not a two-hour Figma onboarding. Canva gave them templates, brand kits, and real-time collaboration, and became the de facto design platform for non-designers.
WordPress won the CMS market the same way: by being extensible enough for developers and forgiving enough for everyone else. The two platforms now sit at either end of the same cloud-to-CMS workflow for millions of teams. Someone designs in Canva. Someone publishes in WordPress. The question is how the design actually gets from one to the other.
The Manual Workflow Everyone Is Running
Here’s the standard flow, roughly:
- Finish the design in Canva
- Click Share → Download
- Pick a format (usually whatever the dialog defaulted to)
- Save to Downloads with a filename like
Untitled design (7).png - Open WordPress, navigate to the relevant page
- Upload to the Media Library
- Fill in alt text (if you remember)
- Insert into the page
- Hit Update
On paper that’s nine steps. In practice, it’s nine steps per image, run by someone who’s also doing three other things, repeated whenever the design changes. A week later, the marketing lead spots a typo in the banner. The cycle repeats. Except now the old image is still cached in a few places, the filename is different, and nobody is entirely sure which version is live on staging versus production.
Multiply by a team, and multiply again by the number of sites an agency manages, and the time cost becomes real. But the subtler cost is version drift. Consider the image on the homepage, the one in the email footer, the one on the Shopify landing page, the one in the PDF sales sheet. They’re supposed to be the same, and they were on day one. By month six, they have quietly diverged. (This is the same mechanism that turns most WordPress media libraries into a graveyard of near-duplicates, which is a separate but related problem we’ve written about before.)
What a Well-Built Canva-to-WordPress Workflow Actually Looks Like
A workflow worth defending has four properties:
Single source of truth. The design lives in Canva. Everywhere else (WordPress, Shopify, HubSpot, the email tool) references that canonical version. When it changes, everything downstream updates.
Format discipline. The export format is chosen deliberately per use case, not per whatever the dialog was set to last time.
Optimization before publish. Nothing hits the live CDN unoptimized. Core Web Vitals are a ranking factor, and raw Canva PNGs are usually two to five times heavier than they need to be.
Metadata consistency. Alt text, file names, and captions follow a convention. This is one of the cheapest SEO wins available, and it gets skipped constantly.
Let’s take each in turn.
Choosing the Right Export Format
Canva offers PNG, JPG, SVG (on paid plans), PDF, MP4, and GIF. For WordPress specifically, these are the useful rules:
- JPG for photography, illustrations with many gradients, or any design where file size matters more than sharp edges. A JPG of a photo-heavy hero is typically 60–80% smaller than the PNG equivalent with no visible quality loss.
- PNG for logos, icons, designs with transparency, and anything text-heavy. PNG preserves sharp edges and doesn’t introduce the compression artifacts JPG shows around typography.
- SVG for icons, simple illustrations, and UI elements that need to scale without pixelation. SVG is available on Canva Pro and above, and it’s the correct choice for anything that appears at multiple sizes across the site.
- PDF for anything that will be downloaded and read as a document, like whitepapers, one-pagers, or resource sheets. Don’t use PDF as a page-embedded image.
The default “PNG” download in Canva is the wrong choice about half the time. Defaulting to PNG for every export is how a 4MB image ends up on a page that should have loaded in under a second.
Image Optimization: The Step Most Teams Skip
Canva does not optimize exports for web delivery. A PNG exported at standard resolution for a 1920×1080 banner will routinely land between 1.5MB and 4MB. The same image, properly compressed to WebP at quality 85, is usually 150–400KB, an order of magnitude smaller, visually identical at screen resolution.
Why this matters: Google’s Core Web Vitals use Largest Contentful Paint (LCP) as a ranking signal, and hero images are usually the LCP element on a page. A 2MB hero on a modest connection is a 2.5-second LCP. That’s in the “poor” bucket, and it shows up in Search Console as a crawl-level issue rather than a page-level one, which is worse.
The practical fix:
- Compress every Canva export before uploading
- Serve WebP with JPG/PNG fallbacks
- Use
widthandheightattributes to prevent layout shift (CLS) - Lazy-load below-the-fold images
You can do this manually with tools like Squoosh or TinyPNG, or set it up once as part of an automated pipeline. The important thing is that it happens, not that it happens heroically by hand every time.
Alt Text, File Names, and the SEO Layer
Alt text is the most under-used SEO feature in WordPress. It serves accessibility first (screen readers rely on it), but Google also uses it to understand image content for image search and to disambiguate page topic when the surrounding text is thin.
A few rules that consistently work:
- Describe what’s in the image, not what the image is “for.”
alt="woman laughing at laptop"beatsalt="hero image for blog post". - Include the primary keyword of the page if it fits naturally. Don’t stuff it.
- Keep it under 125 characters. Screen readers truncate beyond that.
- Leave purely decorative images with empty alt (
alt="") so screen readers skip them.
File names matter less than alt text, but they still count. home-renovation-before-after.jpg will outperform Untitled design (7).jpg over a long enough timeline, especially for image search traffic. Strip the spaces, use hyphens, lowercase everything. Do this at the Canva export step and it compounds across every asset you publish.
Version Control When Designs Change
This is where the manual workflow breaks down worst. You edit a Canva design. The new version is saved in Canva. The old version is still on your WordPress media library, still on your Shopify storefront, still embedded in last month’s email campaign, still on the PDF someone linked from a LinkedIn post.
The question “which version is live?” should have one answer, not four. The only way to get there is for the downstream destinations to pull from the canonical source, or to have an automated sync that updates them when the source changes.
A good versioning approach:
- Keep the file name stable when you update a design
- Use URL-stable media (so the replaced image keeps the same URL)
- Track where each design is used so you know the blast radius of a change
- Log the sync so you have a record of when each copy was last updated
WordPress’s built-in media replacement is limited. Plugins exist to replace an uploaded file while preserving its URL. That’s a start. The harder problem is keeping track of where each design lives across surfaces, and getting notified when the source has drifted from its copies.
Automating the Handoff
This is the part that has actually changed in the last two years. OAuth-based sync between design tools and content platforms is finally reliable enough for production use. The architecture that makes it work is a credential broker sitting between the two platforms, a server-side layer that holds the OAuth tokens, handles refresh, and exchanges them for scoped access when your site needs to pull an asset.
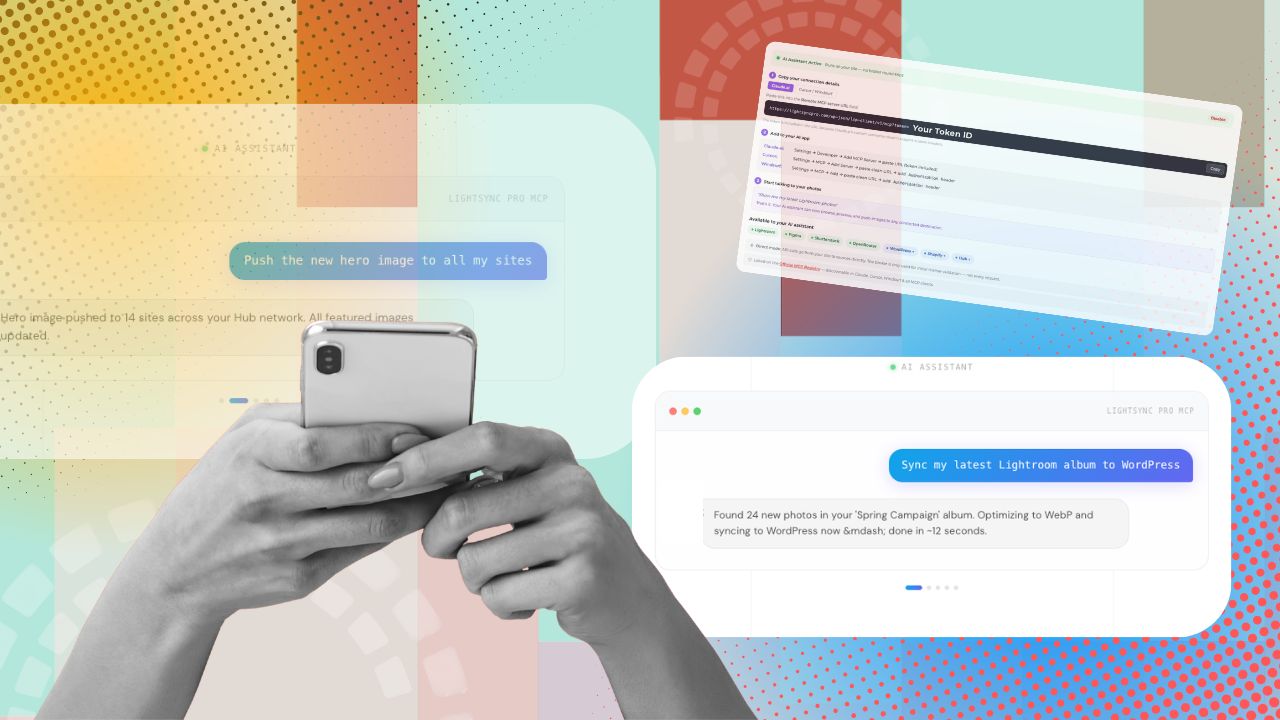
LightSync Pro is the WordPress plugin (and Shopify app) built on this broker architecture. For a WordPress site, the workflow looks like this:
- Connect Canva to your WordPress site via OAuth, one click, no manual API keys to manage
- Your Canva designs appear in a source browser inside your WordPress dashboard
- Select which designs to sync and map them to media library locations
- LightSync Pro pulls the design at a set cadence or on demand, compresses it, and places it in your media library with alt text and metadata preserved
- When the design changes in Canva, the sync picks up the change and updates the WordPress copy, without changing the URL
The Shopify app works the same way for storefront product images, banners, and collection art. A full feature breakdown covers the sync, optimization, and SEO metadata pipelines in more detail.
If your workflow goes beyond WordPress and Shopify, Syncific is the standalone web app built on the same broker architecture. It’s a separate product from LightSync Pro, and the key difference is scope: Syncific supports unlimited destinations, and can push to any HTTP API. It ships with prebuilt destinations for WordPress, Shopify, HubSpot, Contentful, and Webflow, but the broker can target any system that accepts an HTTP upload. Custom CMSs, digital asset managers, internal apps, and one-off integrations all become viable targets from a single canonical Canva source. The single-source-of-truth problem goes away because there literally is a single source, and the copies across every destination you’ve configured are provably in sync with it.
The broker-based OAuth architecture (U.S. Patent Application 19/440,404) is what makes this work at scale without distributing API credentials inside every plugin install, the longstanding technical problem that kept this integration model from being practical before.
Getting Started
If you’re running a single WordPress site with a handful of Canva designs, the manual workflow is fine. Nine steps, a few times a month, is not the kind of thing that justifies automation.
If you’re running an agency, an ecommerce operation, or any site where design changes happen weekly and feed multiple destinations, the math changes quickly. The time cost of the manual workflow is real, but the bigger cost is the version drift that erodes brand consistency over months.
For WordPress (or Shopify) specifically:
- Install the LightSync Pro plugin from the WordPress.org repository, or the LightSync Pro app from the Shopify App Store
- Connect your Canva workspace via OAuth from the plugin settings
- Browse your designs and select what to sync
- Configure sync cadence and compression settings
Pricing and plan tiers are here if you want to size up before installing.
For multi-destination or HTTP-API sync:
Create an account at app.syncific.com, connect Canva once, and add each destination from a single dashboard. Syncific handles the fan-out to unlimited destinations, whether those are prebuilt integrations like HubSpot, Contentful, and Webflow, or custom HTTP APIs you own. The multi-site distribution page walks through the architecture for agencies, franchises, and networks syncing across many destinations at once.
Both products share the same broker and the same source connectors, so the Canva side of the setup is identical either way. The difference is how many destinations you’re pointing at, and whether any of them are custom endpoints.
The free tier of each handles small portfolios. Paid tiers unlock multi-destination sync, A/B version tracking, and hero scoring, which images are actually performing, based on the analytics already running on your site.
Canva-to-WordPress
The Canva-to-WordPress workflow is overdue for automation. Most teams don’t realize how much they’re spending on manual handoffs because the cost is spread across every person who touches a design: the marketer who downloads it, the developer who uploads it, the brand manager who finds the outdated version six months later.
Fix the workflow once and the cost disappears. Leave it manual and it compounds quietly, until someone audits the site and finds that the “new” branding from last quarter never actually made it to three of the landing pages.
If you’re building out a Canva-to-WordPress pipeline for the first time, start with format discipline, optimization, and alt text conventions. Those alone will cut your page weight and measurably improve your image SEO. When the volume justifies it, move to automated sync so the handoff runs itself.